Professional Tips for Perfect Plastering: Achieve a Perfect Complete Every Single Time
Professional Tips for Perfect Plastering: Achieve a Perfect Complete Every Single Time
Blog Article
Key Tips and Tools for Effective Plastering in Your Home Renovation Endeavors
Attaining a perfect plaster finish in your home renovation jobs needs a blend of the right devices and tried and tested techniques. Crucial implements such as the hawk and trowel are important for efficient application, while correct surface area preparation lays the structure for success. Moreover, comprehending the subtleties of blending plaster and using it in thin layers can considerably influence the last end result. As we explore these essential elements, it comes to be evident that preventing typical challenges can boost your plastering skills-- ensuring your next task not just fulfills yet exceeds expectations.
Important Plastering Tools
A plasterer's toolkit is fundamental to accomplishing a long lasting and smooth surface on ceilings and walls. The necessary devices incorporate a selection of carries out developed to help with the gluing process successfully and properly. Trick elements include a hawk, which is a level, square device used to hold the plaster while using it to surface areas. This tool permits very easy transportation and application of the material.
Furthermore, a blending pail is necessary for preparing plaster, making certain the best uniformity before application (Plastering). Together, these crucial plastering devices enable both experts and Do it yourself lovers to accomplish premium outcomes in their plastering tasks.
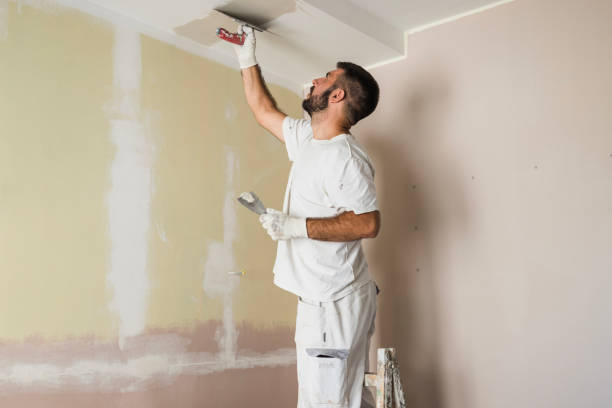
Surface Preparation Methods
Properly preparing the surface area before plastering is important for guaranteeing attachment and achieving a perfect coating. The very first action involves cleaning up the surface area to eliminate any type of dust, grease, or old paint that may prevent the plaster's capacity to bond properly. A thorough wash with a suitable cleaning solution is recommended, followed by rinsing and allowing the surface area to completely dry entirely.
Following, examine the surface area for any type of imperfections or splits. These must be full of an appropriate filler substance and allowed to heal according to the supplier's directions. For porous surfaces, using a primer is necessary to produce an uniform appearance and enhance adhesion.
Additionally, it is essential to make certain that the surface area is steady and structurally noise. Any type of loose materials, such as flaking paint or damaged drywall, must be repaired or eliminated. Think about making use of a scratch coat to improve grasp. if functioning with masonry surface areas.
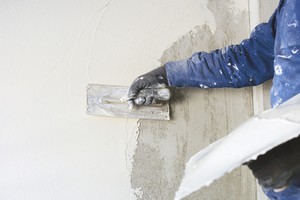
Mixing Plaster Like a Pro
Using a tidy mixing container, put the water first, then gradually add the plaster powder while mixing constantly - Plastering. This method assists to stop clumping and guarantees an even circulation of materials. A mechanical mixer can be advantageous, giving consistent outcomes and conserving time. Go for a creamy, lump-free uniformity that enables easy spreading but is thick sufficient to hold its shape without running.
When combined, allow the plaster to you can try here rest for a few mins to make it possible for the plaster crystals to moisten totally. This resting duration boosts workability and minimizes the risk of fracturing throughout application. By complying with these steps, you can blend plaster like a pro, setting the structure for an effective plastering project in your house improvement ventures.
Application Techniques for Smooth Finishes
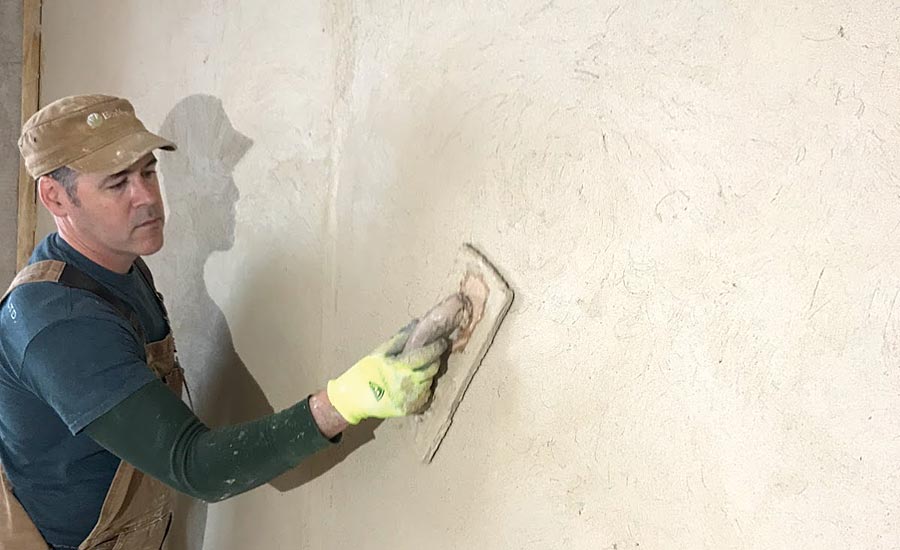
With the plaster mix prepared to the ideal uniformity, the next step includes choosing proper application methods to accomplish a smooth coating. The choice of application devices substantially influences the last look of the plastered surface area. For optimum outcomes, a stainless-steel trowel is commonly suggested. This device permits for a fine, even circulation of plaster across the surface while decreasing trowel marks - Plastering.
Begin by applying a generous quantity of plaster to the surface using the trowel, guaranteeing it sticks well. Utilize a systematic method, working from the bottom higher. Once the initial coat is used, make use of a sweeping movement to smooth the surface area, using also pressure. In areas that need more meticulous focus, consider making use of a float, which can assist remove any type of imperfections and develop an uniform texture.
For the final touches, a wet sponge can be utilized to fine-tune click for more info the surface better. Lightly mist the plaster with water and carefully massage the surface area to achieve a sleek impact. Always remember to operate in little areas to preserve control over the application process, guaranteeing a smooth, professional surface throughout your plastering project.
Common Blunders to Avoid
When getting started on a gluing project, preventing usual mistakes is important for achieving a remarkable surface. Among the most prevalent errors is disregarding surface area prep work. Failing to tidy and fix the substratum can lead to bad adhesion and unequal surfaces. Make sure that all dirt, grease, and loosened materials are gotten rid of prior to applying plaster.
One more usual mistake is using plaster too heavily. Thick layers can split as they dry, compromising the integrity of the coating. Instead, choose several thin layers, permitting go to website each layer to dry totally before applying the next.
Additionally, poor mixing methods can lead to irregular structure and workability. Constantly comply with the supplier's instructions for mixing proportions and thoroughly blend the plaster to accomplish a consistent uniformity.
Timing likewise plays an essential duty; plaster should be used while the substrate is moist to boost bond. High-grade trowels and drifts can make a significant difference in accomplishing a smooth coating.
Final Thought
Reliable plastering needs a complete understanding of important devices and methods. Proficiency of these aspects not only adds to the aesthetic charm of a room yet also makes sure durability and durability in smudging tasks, making them essential to effective home renovation ventures.
A float is an additional critical tool, which assists in leveling the plaster and attaining an uniform surface area.
By complying with these steps, you can blend plaster like a professional, setting the structure for an effective plastering project in your home improvement ventures.
Gently haze the plaster with water and gently rub the surface to accomplish a sleek result.
Report this page